
By Vic Laboy
The time has arrived where you’ve made the decision to purchase your first firearm. If you are new to the industry, the array of options and designs may be intimidating at first. You do not need to worry as we have all been faced with the initial stage fright during a first visit, especially for those who have not been introduced to firearms before. It is important to understand that purchasing a firearm is not to be rushed. It is best to conduct your own personal research to find what is right for you.

Understanding the Mechanics
There are many times when an individual does not fully understand the mechanical aspects of a pistol, specifically a semi-automatic. One of the most common statements is: “This has too many moving parts.” Do not be deterred from a potential carry option due to a lack of understanding on how to operate the pistol.
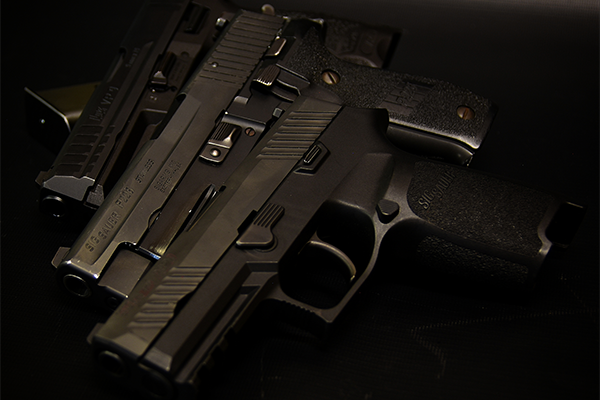
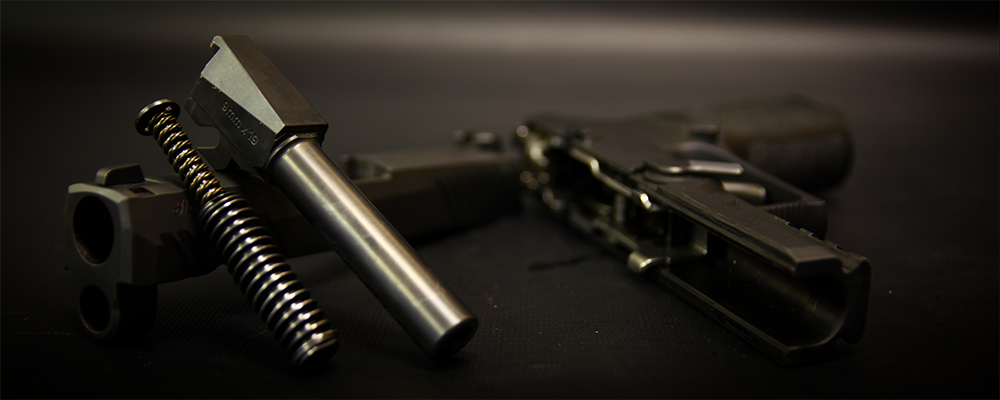
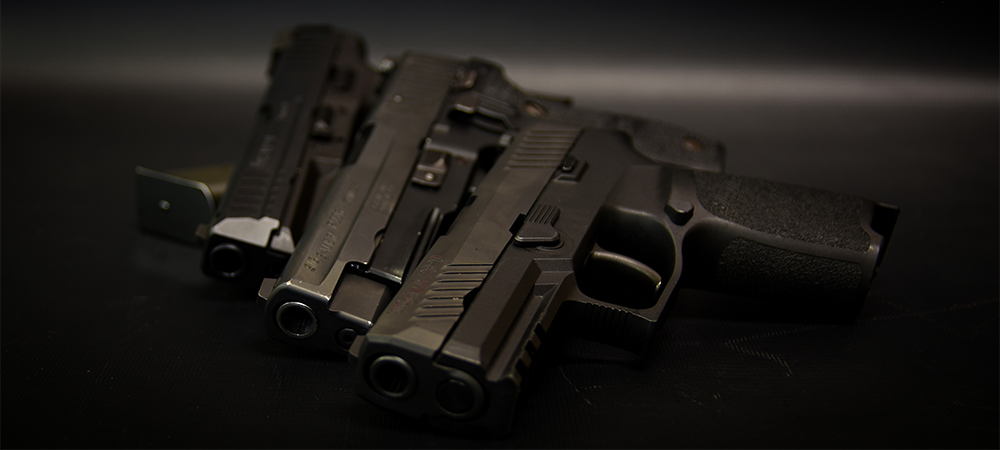
To break this down, a pistol is typically comprised of only five main parts: the barrel, guide rod or recoil spring, slide, lower receiver, and magazine. Each plays a key role in the operation of the platform, and the pistol cannot function properly without each component. Along the lower receiver or frame of the pistol, you may notice some extra features that are key to pistol operation.
Slide Stop/Lock
The slide stop component is referred to by a few names, and you’ll hear different terms depending on who you speak with. No matter the terminology, this refers to the part resting between the slide and frame. The slide lock is a simple locking device used to lock the slide or action to the rear. This can be done manually when performing a clearance check to ensure the weapon is clear of ammunition. This is also done once the final cartridge is fired and the follower resting within the magazine contacts the slide lock and transfers spring tension into this component.
It is important to remember this is one of the basic functions of a pistol and is meant to occur. To return the slide forward, remove the magazine and either press the slide lock downward, or grip the slide and pull back towards you. Both will remove the slide lock from the open port in the slide and allow the slide to return forward. Attempting to manipulate the slide lock with an empty magazine housed in the grip may be difficult. Remember the locking device only provides a single point of contact on the follower. It is a plastic component in the magazine held in place by a compressed spring and will require greater applied force to disengage. Removing the magazine will release the tension allowing you to manipulate the slide with ease.
Magazine Release Button/Lever
Another common feature found on semi-automatic handguns is the magazine release button or lever depending on the model. Essentially 95% of models use the button release; however, some retain the lever or paddle release. Companies like H&K are renowned for using this method with their models, like the VP9 or USP models. A paddle release operates virtually the same as the button; however, it is positioned along the sides of the trigger guard and not the left or right sides of the frame. Opposed to the traditional style which uses your thumb, it is designed to be engaged by dropping the trigger finger pressing down on the lever. Those who are not acclimated with this style find this difficult and prefer the traditional release.
Whether button or paddle, left or right-handed, each magazine release performs the same action of removing the magazine from the pistol. Without this component, the magazine will not seat properly which will lead to complications down the line. Remember each design is purely personal preference, and you should select whichever you are most comfortable with and can perform effectively.
Miscellaneous
Some models offer more unique features that are not found on most configurations. Springfield’s XD series uses a 1911-style rear backstrap safety. Those who are not familiar with either platform may find this cumbersome even after understanding the purpose and functionality of this component. This feature acts in place of a manual safety and disengages the locking mechanism by simply gripping the pistol. If not fully depressed, the pistol will not function properly and is less likely to fire.
Chambering A Round
We’ve all heard it countless times, people choose a revolver over a semi-auto due to difficulties chambering a round. Yet it’s actually quite easy. Keep the firearm pointed downrange in a safe direction away from yourself and others. Insert the magazine into the pistol and grip the slide pulling to the rear. This is more easily accomplished with larger handguns like the Glock 17 rather than a Smith and Wesson M&P Shield. Larger springs are typically less stiff than smaller configurations making them easier to manipulate.
If you find yourself unable to successfully chamber a round, try these tips and tricks to resolve the issue. First, practice with an unloaded firearm. Ensure both the chamber and magazine are clear of ammunition. Once cleared, begin by inserting the empty magazine into the pistol. Remember that an empty mag will force the slide to lock to the rear which is key for this exercise. Grip your pistol with your dominant hand and grasp the slide with your support hand. Once you have secured a tight grip on the rear of the slide, pull your support hand rearwards towards you and push your dominant hand away from you in one fluid motion.
If done correctly, the slide will lock to the rear. Locking the slide gives evidence you are capable of chambering a round as the follower has fully contacted and engaged the internal locking mechanism. If the slide returns forward and does not lock, you may need to alter your technique. Never place your support hand near the front of the slide as the fleshy portion of your palm may pinch in the open chamber, otherwise known as slide bite. Rest your hand atop the slide and use the stippling or slide cuts for a better grip. Continuous practice will allow you to successfully chamber a round each time.
Reloading
Reloading your magazine can be a difficult task; however, there are some techniques to simplify the process. It’s best to try to load your pistol near capacity. I’ve held a conversation with someone who purchased a pistol and loaded six rounds in their 15-round magazine since the spring was too stiff. No matter how difficult this may be, never sacrifice your round capacity because of the stiffness of the spring. Products like the Maglula UpLula Magazine Loader are great options for beginners or those unable to load their magazine by hand. Speaking from personal experience, my mother who faces severe carpal tunnel is capable of loading magazines with ease with a speed loader. If you are one that has trouble with loading and visit the range by yourself, a speed loader may be a worthy investment.
Aiming Down Your Sights (ADS)
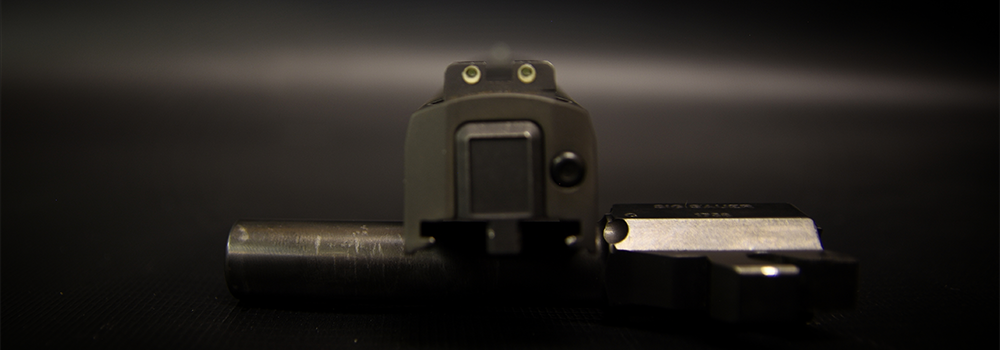
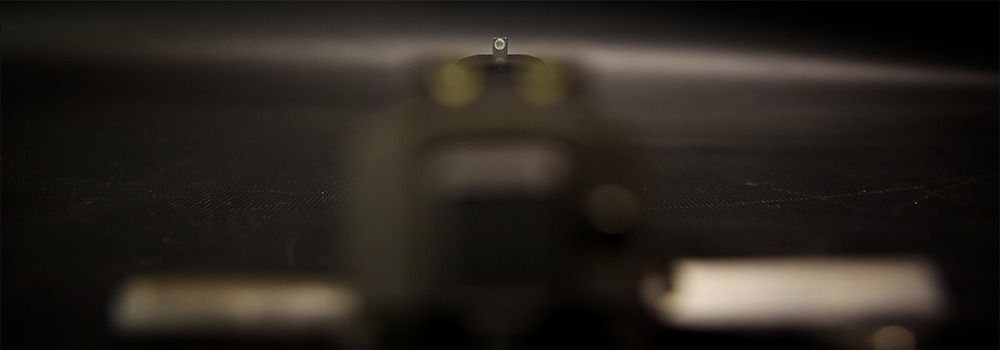
Last, but certainly not least, the act of aiming down your sights may seem complicated at first. However, with proper education and training, this will become second nature. Most pistols utilize a three-dot sighting system. To properly aim down your sights, each dot should rest inline with one another at similar heights. The slightest variation in front sight placement can drastically affect shot placement. While there may only be a millimeter difference in movement directly in front of you, this can result in severe accuracy issues.
For example, a proper front sight alignment is attained when all three dots are perfectly aligned in a single row. If the front sight rests low, your shot will strike the bottom of the target. If the center dot is held slightly left or right, the round will veer in that direction. When practicing this technique, it is important to take your time. This can also be practiced in the comfort of your home. Remember to clear your pistol of all ammunition to avoid a negligent discharge when training. Once cleared, present the pistol as if you were firing at the range and view your sights. Take note of your front sight placement and adjust if necessary. Once you have acquired a proper front sight picture, retreat your arms to a compressed ready position. Immediately after, extend your arms outwards and aim down your sights, repeating the same process. After consistent training, you should be able to attain proper front sight alignment with minimal effort.
Even those with extensive amounts of training do not acquire proper alignment with each press. The importance of this drill is to understand your platform and make the necessary corrections when applicable. In addition to three-dot sighting systems, companies like Glock offer a dotted front sight guided by a U-shaped rear sight. Others use a “figure-8” sighting system which both may feel uncomfortable if you are accustomed to the previous setup. To alleviate any confusion, each sight uses the same concept. U-shaped sights require the front sight to rest centered, almost like a football entering between field goal posts. The figure-8 sights, while uncommon, gain alignment by resting the front sight atop the rear resulting in this shape. No matter your preference, take your time to thoroughly train to ensure your sights are properly aligned.
Final Thoughts
Remember, it is okay to ask questions if you are unsure of something. “It is better to ask a question and be a fool once, than never ask and be a fool forever.” Conduct personal studies and ask questions when visiting your local gun store. If you have questions regarding any of the topics above, give us a call or email us directly and we will be happy to assist you. Remember to check out our online shop or visit our retail store for all your shopping needs. As always, train hard, train smart, and stay safe.


Leave a Reply