
Last Updated on
Firearm magazines are never among the top contenders for the Shooters’ Choice Awards. They receive hardly any time in the spotlight and are often neglected for reasons incomprehensible to firearm experts. At the same time, a magazine is the most vulnerable link in the firearm chain and the most likely cause of a malfunction in a gun. That vicious circle has all chances to break with only a bit of care and attention on our part. The more neglected a magazine is, the higher the chances of malfunction are. We hope this simple truth can encourage people to start caring about their magazines. This article is a practical guide to gun magazine maintenance.
Table of Contents
Step 1: Disassembly
Step 2: Cleaning
Step 3: Inspection
Step 4: Reassembly
Storage Principles
Conclusion
Step 1: Disassembly
Regular box magazines feature a simple construction. As a rule, there are no more than three or four pieces, so it’s really hard to tamper with it even having no experience whatsoever. But even such a seemingly uncomplicated task calls for dedication. A single sweep over the exterior of a magazine is hardly enough to call it a cleaning session. If you are serious about maintenance and cleaning, disassembling gun magazines is the first step.
Fortunately, magazines are not that hard to take apart, regular box magazines, that is. If you are determined to clean a drum magazine, take heart and find a dedicated video – mere words are not enough to describe the whole process. Those in possession of regular straight-box magazines can follow more or less the same procedure.
What you need to do first is remove the baseplate, also known as the floorplate. The mechanisms of doing so may vary between different mags. With some, you only need to press the takedown button with whatever you feel comfortable, cartridges included, and pull the baseplate off. Other gun magazines lack buttons and need to be pulled off with mere force. As a rule, there are baseplate removal tools designed specifically for this purpose, both universal and dedicated, that work on the lever principle. That’s the case with Glock magazines, for the most part.
While you are removing the baseplate, it is vital to keep your thumb over the mag tunnel. The retainer plate that rests right under the baseplate will likely pop out unless you do so and hit everything it meets on its way, your face included. The reason is that the entire spring is compressed and thus is under significant pressure while the magazine is assembled. By removing the baseplate, you release that pressure and give the spring the opportunity to explore the outer-magazine space. Keeping your thumb above the retainer plate costs zero bucks, but safe is always better than sorry. The rest is a cakewalk. You only need to remove the spring with the follower – and there you are, having a fully disassembled magazine ready for cleaning.
As for the tools, you might very well get by without using any, given your mag is designed accordingly. In other cases, you may need a stout screwdriver to continue applying the pressure on takedown buttons in older mag designs, or a separate assistance tool in the case of Glock magazines.

Step 2: Cleaning
We dedicated five paragraphs and a tiny passage to describe the disassembly process which usually takes a few seconds max. Gun magazine cleaning is just like that – it will never occupy the whole evening unless your mags have piled up in a small mountain. The duration of a cleaning session might vary depending on how thorough you’d like to be.
It doesn’t matter where you begin, as all parts should lie separately before you. Let’s start with the biggest one, the magazine tube.
Cleaning techniques for gun magazines are not that different from others of their kind. To clean a mag, you’ll need a cloth and a brush for the exterior and interior respectively. Hot soapy water or a breakthrough solvent should do the trick for the outer surface of your mag. No oils and no lubricants at this point – they will do more harm than good.
You then proceed to the magazine interior, and for that, you need a brush. It can either be a toothbrush you don’t need anymore or one of the dedicated gun magazine brushes (the latter is preferable, of course). And then, you brush the mag’s inside to remove grime, dirt, residue, or anything else that troubles it. With a dry brush, that is also important. Sometimes, people overdo it with gun lubrication – and oil leaks into a gun mag. If that is one of the issues you need to deal with, some solvent is due. But it is vital to have nothing inside your mag tube by the end of the cleaning, oil and solvent included. It is not the part that needs any lubrication unless you are asking for ammunition issues.
The spring, follower, and retention plate are the only things left uncleaned by this moment. You don’t need any additional tools – everything you’ve been using so far is enough. Brush all the pieces and wipe them with a cloth if you feel like it. The basic cleaning ends here.
You might have heard about all sorts of solvents, oils, lubricants, and whatnot to cover your mag with. In reality, you don’t want any substance to cover any part of your mag, especially anything of oily nature. Everything left there affects the ammunition, but not in a good way. There are some substances that can be handy but in very specific circumstances.
If you have a strong desire to apply something, go for dry solvents. They are graphite-based substances that dry instantly and leave no traces. Spring is the only piece that needs to be treated in that manner. Other parts will lose more than gain from substance treatments. Remember: guns need to be oiled, magazines don’t.
Step 3: Inspection
Why not do the inspecting part before the cleaning part, you may ask? First, to make sure there is no dirt or residue left, and give yourself a thumb up for doing a great job. Second, to see whether grime hid any scratches or wear signs. It might be a bit disappointing to clean an entire mag only to find out it needs replacement, but it only takes a few minutes to do so.
The inspection of gun magazines includes looking for anything that is not supposed to be there: cracks, dents, burrs – that sort of thing. You might ask why they should be there in the first place, and the answer has already been mentioned at the beginning of the article. Magazines are the most neglected piece of firearm equipment, to the point where people don’t pay attention to what’s happening to them. Some shooters let them fall flat on concrete once they run out of ammo and then wonder where that dent came from. Magazines are carried around in pouches and pockets, so scratches can be hardly avoidable.
While you don’t need to write off a mag the moment you see a scratch on its exterior, some elements require your constant attention. The magazine release slot and feed lips are the most vulnerable parts of a gun magazine. If they show signs of significant wear, it might be time for them to retire. We don’t want to encourage the “if it seems off, just buy a new one” approach, but gun magazines are far from the most expensive firearm component. They usually cost around $20-30, so there is no need to squeeze all the juices from a single mag.
The main purpose of the inspection is to determine whether a magazine is still viable or if it is time to find a replacement. The passing criteria are not that high, but your magazine must meet them. Failure to do so might not lead to dire consequences at once, but nobody likes failing guns.
Step 4: Reassembly
Once you’ve made sure the magazine is good, it’s time to make it a one-piece item again. The possible combinations are not that plentiful, so you could probably do this yourself after several tries with no prior experience. But, since this is the guide, we need to cover all steps involved. That is what reassembling gun magazines looks like.
First, you check whether the mag spring is securely attached to the follower. They might come apart in during cleaning, and that’s fine. That’s even good since you’ll be able to brush all parts equally thoroughly. You do need them connected in the end, though, but doing so is pretty easy. The two ends of the spring look different: one (the bottom) is narrower than the other (the top). The bottom of the spring snaps into the follower with a tiniest effort.
You then need to return the spring with the follower to its rightful place. Luckily for everyone, there is no way you can do it the wrong way. Not because every orientation works but because it won’t fit otherwise. The follower needs to align with the feeding lips when, and you’ll know once you’ve inserted it correctly.
What you should have by this moment is a spring sticking out from the magazine. You then need to apply pressure to the string with a retainer plate. The hole in the retainer plate needs to align with the hole in the baseplate. If you somehow managed to put the retainer the other way, you can check yourself by taking a base plate and seeing whether they align. The spring will fight its way back if you move your fingers away, so you need to keep holding it until the base plate snaps into place.
Tabs are the reason why baseplates and magazines are compatible. You can say that a baseplate features cutouts and a magazine body features ears that match them. That’s what keeps the baseplate secured, but that’s also the reason why it takes some force to mount a baseplate. Doing so is the next-to-last step of a magazine reassembly.
Once you finish all the mentioned steps, you should have a functioning magazine in your hands. Or so you think. Flip the mag and check whether the spring configuration works the way it should by simply pressing the follower. There is little that can go wrong, but if it doesn’t press for some mysterious reason, give it another round of assembly.
Storage Principles
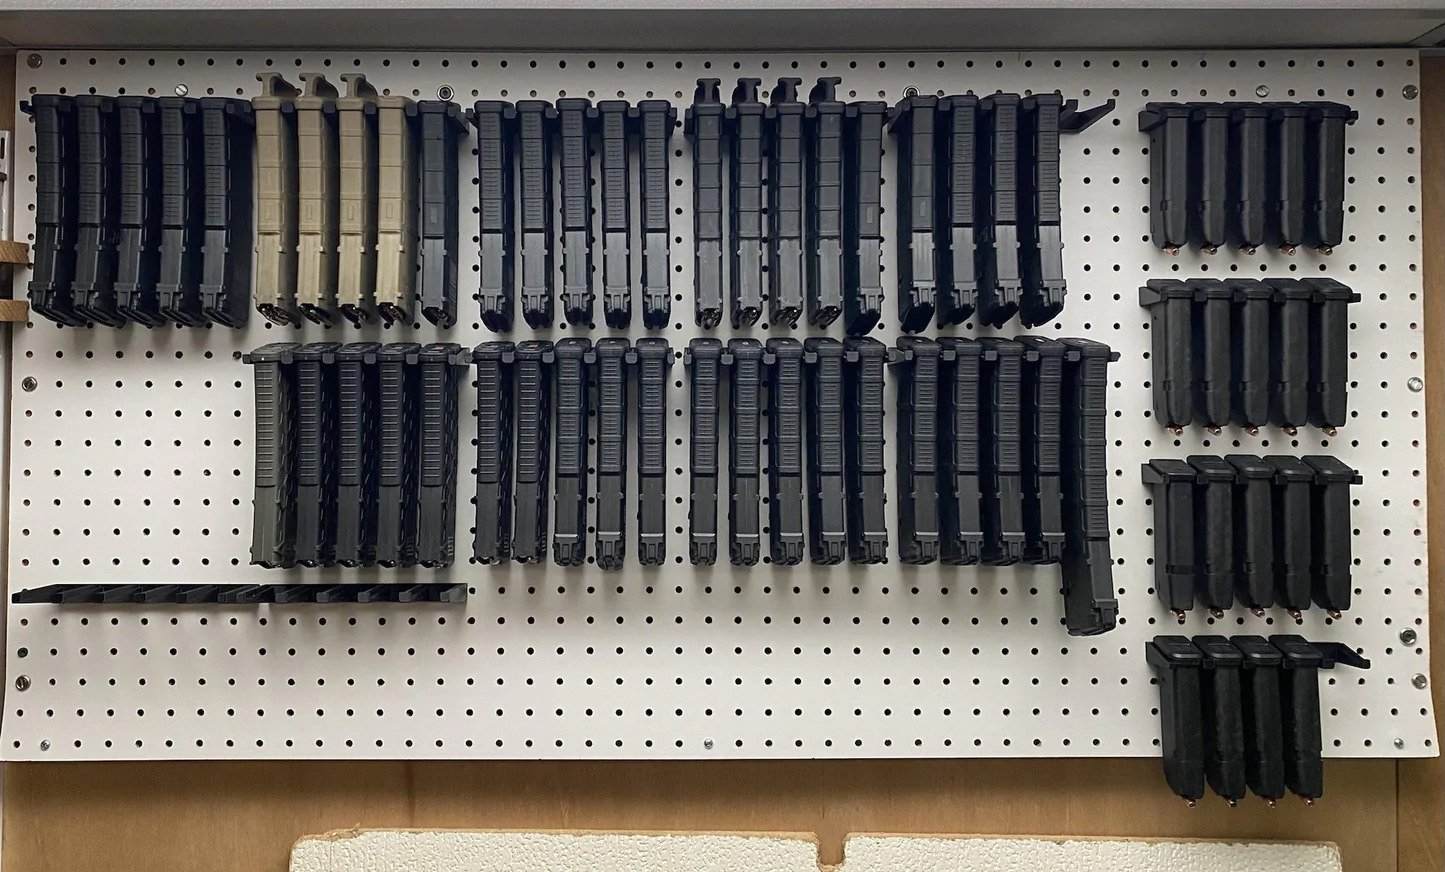
So here you are, having a spick-and-span functioning mag, or two, or three. How many mags does one need, actually? There are range shooters who don’t want to spend precious time reloading their mags so they take the biggest part of their collection with them. In reality, you’d indeed want to have some spare mags if not for speedy reloading, then as a precaution. Should your magazine fail you, you’ll have a few others to replace it. But what about storing gun magazines?
Storage space can either help your mags remain cleaner longer or facilitate greasing and rusting processes. For example, moisture is a sworn enemy of all types of magazines, whether they are made of steel or simply featuring stainless steel springs. The storage environment should be helpful, not harmful, that’s why the maintenance philosophy doesn’t end with cleaning. Magazine carriers and pouches usually make for a fine storage choice both in terms of convenience and protection. But if you have magazines that aren’t in active use and are lying somewhere waiting for a rainy day, you might want to take things further.
Ammo cans can do the trick: they seal out moisture well and are universally durable. They are usually big enough to house a significant number of mags, though you won’t be able to store as much ammo. However, waterproofness is not an obligatory feature. Anything that can simply keep moisture away will do nicely. We also recommend putting a desiccant into the container. It will absorb moisture that got sealed, drying out the air and minimizing the environment’s harmful influence.
Conclusion
Keeping your magazine clean is a good habit to develop. In exchange, you get magazines with longer service life and confidence that no defects shall escape your eye. But in order to develop a habit, you need consistency, and consistency comes from scheduling. You don’t need to clean your magazine after every time you empty it, but your mag will be thankful for a quick cleaning session after a long day at a shooting range. If you benefit from planning and setting rules, you can make your own maintenance schedule for gun magazines. With that being said, we all need to remember magazines are perishable. When the time comes, it’s better to acquire a new mag than to cling to an old one, even if it’s dear to you. If you don’t know which one to choose, we have a Rifle Magazine Review that might suggest some viable options.


Leave a Reply