
Safe Ammo Storage Guide: Cans, Boxes & Lockers
If you’re new to owning a gun or hunting, you might not know much about how to store ammo and what ammo storage solutions are

If you’re new to owning a gun or hunting, you might not know much about how to store ammo and what ammo storage solutions are

We know the world of online retail can be a wild, wild west when trying to find the perfect gun safe. But no worries, GRITR
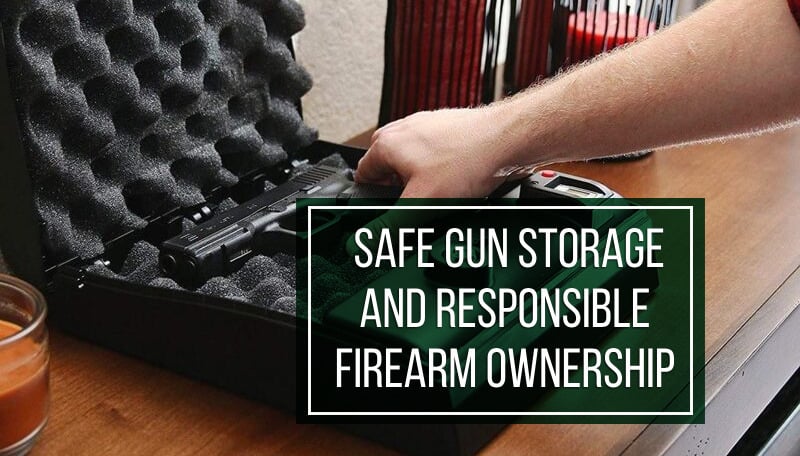
Nobody said gun ownership was all fun and games. If they did, they lied. However, the understanding of how significant the responsibility is is still

A gun safe is more than just about storage – it’s an investment in safety and peace of mind. In this article, we’ll reveal the